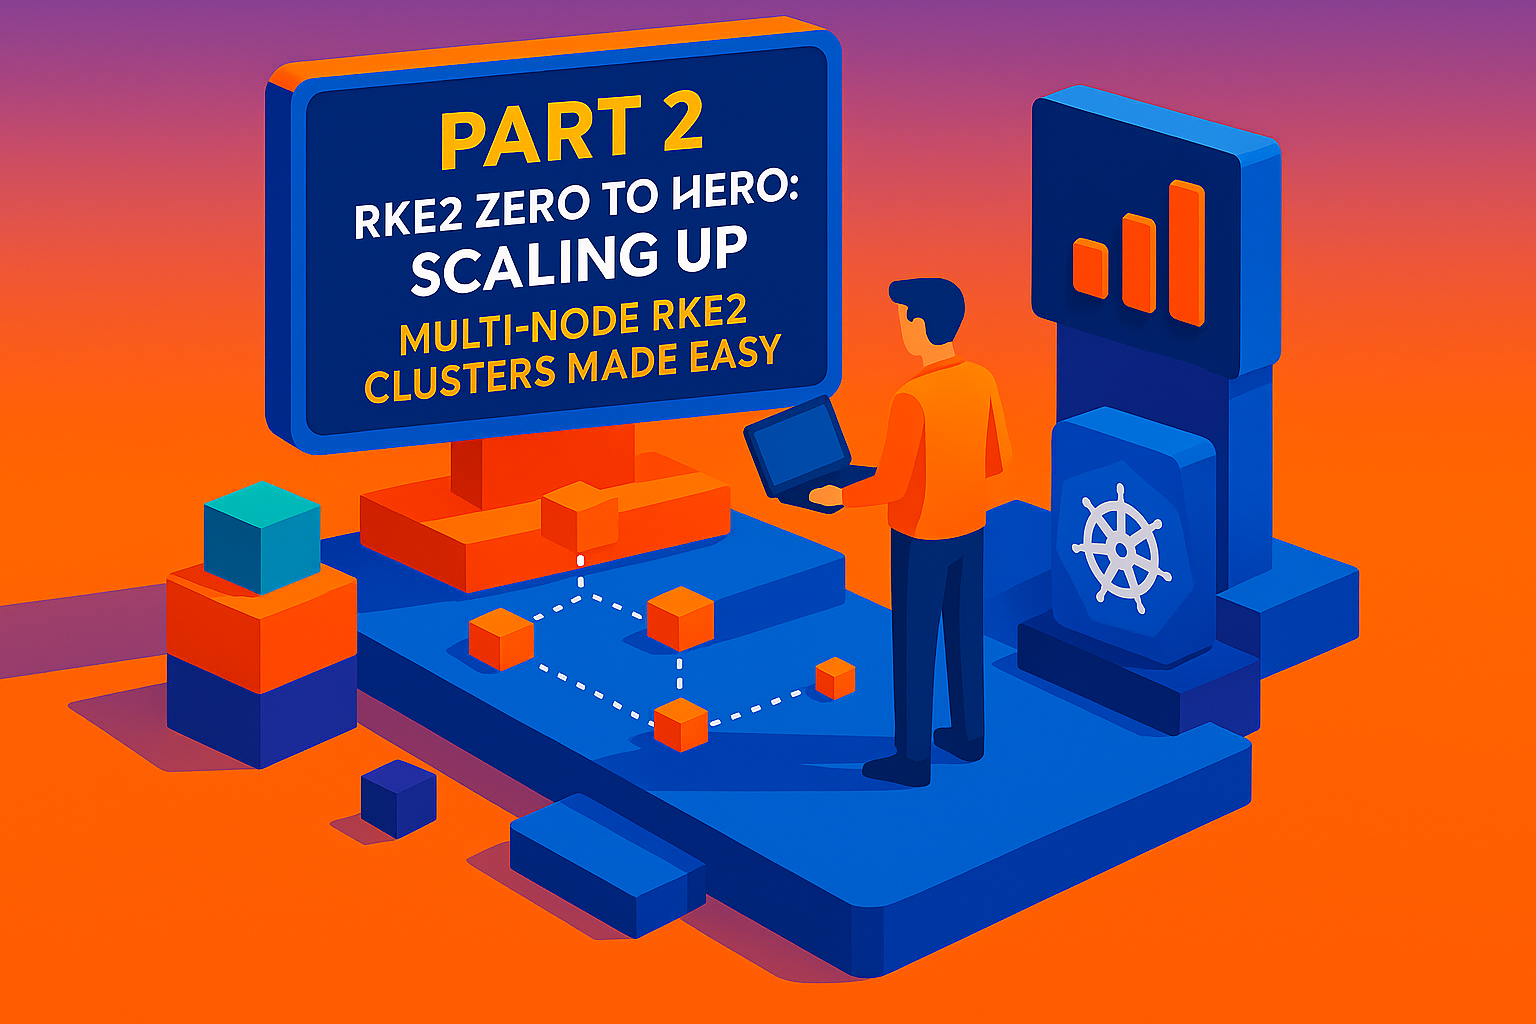
Part 2 - RKE2 Zero to Hero: Scaling Up - Multi-Node RKE2 Clusters Made Easy
Welcome back to our RKE2: Zero to Hero series! If you've been following along from Part 1 where we got our feet wet with a single-node RKE2 cluster, you're probably feeling pretty confident about this whole Kubernetes thing. But let's be honest – running a production workload on a single node is like putting all your eggs in one basket, then juggling that basket while riding a unicycle. It's impressive, but not exactly what you'd call stable.
Today, we're graduating from our cozy single-node setup to the big leagues: multi-node RKE2 clusters. By the end of this post, you'll have a robust 3-server, 3-worker node cluster that can handle real-world workloads with the grace and resilience of a well-orchestrated symphony. Plus, we'll dive into why production environments absolutely need load balancers (spoiler alert: because nobody likes downtime), and how to keep your control plane nodes focused on their day job instead of moonlighting as application hosts.
Understanding RKE2 Node Architecture: The Control Plane vs Worker Node Ballet
Before we start spinning up nodes like a caffeinated DevOps engineer, let's understand what we're actually building. RKE2 operates on a clear separation of concerns between two types of nodes: server nodes (also called control plane nodes) and agent nodes (the worker bees of your cluster).
Server nodes in RKE2 are the masterminds behind the operation. These nodes run the essential Kubernetes control plane components including the API server, etcd datastore, controller manager, and scheduler. Think of them as the conductors of your Kubernetes orchestra – they don't play the instruments, but they make sure everyone else plays in harmony. By default, RKE2 runs all control plane components together, but the beauty of RKE2 is that you can split these roles if you need dedicated etcd nodes or dedicated control plane nodes.
Agent nodes, on the other hand, are where your actual workloads live and breathe. These are the nodes that run your applications, services, and all the fun stuff that actually makes your users happy. They connect to the server nodes through the RKE2 agent process, which cleverly acts as a client-side load balancer.
For our high availability setup, we need an odd number of server nodes – three is the magic number for most scenarios. Why odd? Because etcd, the distributed key-value store that keeps track of your cluster state, needs a clear majority to maintain quorum. With three nodes, you can lose one and still maintain quorum with the remaining two. Add a fourth node, and you've just increased your failure surface without improving fault tolerance. It's like adding another person to a three-way decision – suddenly everything takes longer and you're no more fault-tolerant than before.
Production Load Balancer Requirements: Because Downtime is Not an Option
Here's where things get serious. In a production environment, putting a single point of failure in front of your control plane is like installing a screen door on a submarine – it defeats the entire purpose of having redundancy. You absolutely need a load balancer in front of your server node group for several critical reasons.
First, your kubectl commands, CI/CD pipelines, and other management tools need a stable endpoint to connect to the Kubernetes API. Without a load balancer, if your primary server node goes down, everything that was pointing to that specific node's IP address suddenly can't manage your cluster. That's not just inconvenient – it's a career-limiting event.
Second, for joining new nodes to the cluster, you need a fixed registration address that doesn't change when individual nodes come and go. This load balancer serves as the consistent entry point that new nodes use to authenticate and join the cluster, regardless of which specific server node is currently healthy.
The load balancer needs to handle two specific listeners: port 9345 for the RKE2 supervisor process (this is how nodes join and communicate with the cluster), and port 6443 for the Kubernetes API server. You can implement this using various approaches including layer 4 TCP load balancers, round-robin DNS, or virtual IP addresses, but the key is having that stable, highly available endpoint.
For worker nodes, while not absolutely critical for cluster operation, load balancers become essential when you're exposing services to the outside world. LoadBalancer-type services need something to actually provide those external IPs, and that's where solutions like ServiceLB come into play.
Deploying Your First Multi-Node Cluster: The 3+3 Configuration
Now for the fun part – let's build a proper multi-node cluster. We're going for a 3-server, 3-worker configuration that gives us high availability for the control plane and plenty of compute capacity for workloads.
Setting Up the First Server Node
Start with your first server node, which will bootstrap the cluster. The installation process mirrors what we did in Part 1, but this time we're thinking about expansion from the beginning:
curl -sfL https://get.rke2.io | sh -
systemctl enable rke2-server.service
systemctl start rke2-server.service
After the service starts, RKE2 generates a node token that other nodes will use to join the cluster. You can find this token at /var/lib/rancher/rke2/server/node-token. Keep this token secure – anyone with access to it essentially has full administrator access to your cluster.
Adding Additional Server Nodes
For the second and third server nodes, you'll need to create a basic configuration file that tells them how to find and join the existing cluster. Create /etc/rancher/rke2/config.yaml on each additional server node:
server: https://:9345
token:
Then install and start RKE2 the same way:
curl -sfL https://get.rke2.io | sh -
systemctl enable rke2-server.service
systemctl start rke2-server.service
The new server nodes will automatically join the etcd cluster and become part of the control plane. You can verify this by checking the node status from any server node:
export KUBECONFIG=/etc/rancher/rke2/rke2.yaml
kubectl get nodes
Adding Worker Nodes
Worker nodes follow a similar pattern, but they join as agents rather than servers. On each worker node, create the configuration file pointing to your server cluster:
server: https://:9345
token:
Install RKE2, but notice we're enabling the agent service instead of the server:
curl -sfL https://get.rke2.io | sh -
systemctl enable rke2-agent.service
systemctl start rke2-agent.service
The agent service connects to the server nodes and registers itself as a worker node ready to accept workload scheduling.
Preventing Workloads on Server Nodes: Keeping the Control Plane Clean
By default, RKE2 server nodes are schedulable, meaning Kubernetes might decide to run your application pods on the same nodes that are managing the cluster. In most production scenarios, this is about as wise as letting your CEO also handle customer support calls – technically possible, but not recommended for performance or stability reasons.
Server nodes should focus on their control plane responsibilities: running the API server, maintaining etcd consensus, and managing cluster state. When you pile application workloads on top of these critical services, you create resource contention that can impact cluster stability. Imagine trying to manage a restaurant while also cooking, waiting tables, and handling the cash register – something's going to suffer.
The solution is taints and tolerations. By default, RKE2 applies a taint to server nodes that prevents most workloads from being scheduled there. However, if you need to ensure complete separation, you can add additional taints:
kubectl taint nodes node-role.kubernetes.io/control-plane:NoSchedule
This taint tells the Kubernetes scheduler to avoid placing pods on this node unless they have a matching toleration. Only system components and pods that explicitly tolerate this taint will be scheduled on the server nodes.
Verifying Your Multi-Node Setup
Once all your nodes are up and running, verification is straightforward. From any server node (or any machine with the kubeconfig file), run:
kubectl get nodes -o wide
You should see all six nodes listed with their roles clearly marked. Server nodes will show roles like control-plane,etcd,master, while worker nodes typically show up without specific roles or with just worker. Don't panic if the worker nodes show `` for roles – that's actually normal behavior when nodes are added via CLI rather than through a management interface.
To get more detailed information about your cluster health:
kubectl get nodes
kubectl cluster-info
kubectl get pods -A
The last command shows all system pods across all namespaces, giving you insight into what's actually running where in your cluster.
Troubleshooting Common Multi-Node Issues
Even with the best intentions, things sometimes go sideways. Here are the most common issues you'll encounter and how to solve them:
Connection Timeouts During Node Joining: This is often a networking issue where the agent can't reach the server. Check your security groups, firewalls, and ensure ports 6443 and 9345 are open. On AWS, make sure your security groups allow traffic on both IPv4 and IPv6 if your nodes are binding to IPv6 addresses.
Certificate Errors: If you're seeing certificate validation failures, it usually means the server's certificate doesn't include the IP or hostname you're using to connect. When setting up your first server, make sure to include all possible connection endpoints in the certificate's Subject Alternative Names.
Token Authentication Failures: Double-check that you're using the correct token and that it hasn't expired. RKE2 tokens can be either secure format (with cluster CA hash) or short format. The secure format is preferred as it provides additional security by validating the server's identity before sending credentials.
Nodes Stuck in NotReady State: This often indicates issues with the Container Network Interface (CNI). Check the CNI pod logs and ensure your network configuration is correct for your environment.
Looking ahead to Part 3 of our series, we'll dive deep into the /etc/rancher/rke2/config.yaml file and explore all the configuration options that make RKE2 so flexible and powerful. We'll cover everything from custom networking setups to storage configurations, giving you the tools to tailor your cluster for any environment.
Your multi-node RKE2 cluster is now ready to handle real workloads with the resilience and scalability that production environments demand. You've got high availability for your control plane, dedicated worker nodes for your applications, and the knowledge to troubleshoot common issues. That's not just progress – that's the foundation of a robust Kubernetes infrastructure that can grow with your needs.