

Powerful Single Node RKE2 on Hetzner for CHEAP! (Part 1)
Single-Node Kubernetes Series
- Powerful Single Node RKE2 on Hetzner for CHEAP! (Part 1)
- Powerful Single Node K3S on Hetzner for CHEAP! (Part 1a)
- Powerful Single Node K3s on Hetzner for CHEAP! (Part 2)
The RKE2 Cluster
In this blog, we will explain how to deploy a powerful, single node RKE2 cluster on Hetzner. It will provide the following resources.
- Single Node RKE2 Kubernetes Cluster
- NGINX Ingress into your cluster
- Rancher Multi Cluster Manager Web UI to manage your cluster
Why Hetzner?
Want an easy, powerful, single node, publically accessible Kubernetes cluster? Well, do we have a deal for you! (said in my best Billy Mays voice.)
For this, you can use any cloud service. We are recommending Hetzner because they are a reliable and reputable company with many of years of experience operating in the EU and they just opened a data center in US East (Northern Virgina).
For the below specs, just look at the price difference.
Hetzner:
- 16 vCPU (AMD)
- 32GB RAM
- 360GB SSD
- 20TB Traffic
Hetnzer Price: 49.90/mo Euro ($57.00/mo USD)
DigitalOcean:
- 16 vCPU (Intel)
- 32GB RAM
- 50GB SSD
- 7TB Traffic
DigitalOcean Price: $320/mo USD
That is a SIGNIFICANT difference in price vs specs. You could run a 5 node cluster in Hetzner for the same price as a single Digital Ocean node. This makes Hetzner ideal for development environments.
Why RKE2
We will be using RKE2 by Rancher. RKE2 is like K3s in that it is a CNCF certified, single binary Kubernetes installation.
RKE2, also known as RKE Government, is Rancher’s next-generation Kubernetes distribution.
It is a fully conformant Kubernetes distribution that focuses on security and compliance within the U.S. Federal Government sector.
To meet these goals, RKE2 does the following:
- Provides defaults and configuration options that allow clusters to pass the CIS Kubernetes Benchmark v1.5 or v1.6with minimal operator intervention
- Enables FIPS 140-2 compliance
- Regularly scans components for CVEs using trivy in our build pipeline
How is this different from RKE or K3s?
RKE2 combines the best-of-both-worlds from the 1.x version of RKE (hereafter referred to as RKE1) and K3s.
From K3s, it inherits the usability, ease-of-operations, and deployment model.
From RKE1, it inherits close alignment with upstream Kubernetes. In places K3s has diverged from upstream Kubernetes in order to optimize for edge deployments, but RKE1 and RKE2 can stay closely aligned with upstream.
Importantly, RKE2 does not rely on Docker as RKE1 does. RKE1 leveraged Docker for deploying and managing the control plane components as well as the container runtime for Kubernetes. RKE2 launches control plane components as static pods, managed by the kubelet. The embedded container runtime is containerd.
Deploying a VM
IMPORTANT Make sure you keep your SSH keys safe, lock the system down with appropriate firewall rules, and keep the OS updated.
So, let’s get started. If you don’t already have a Hetzner account, go sign up here: Hetzner Signup*
Once you are signed up:
- Log in to Hetzner Cloud
- Click on
Defaultproject, or create a new project if you like - Click
Add Serverand select the following options- Location:
Ashburn, VA(or your desired region) - Image:
Ubuntu 20.04 - Type:
StandardandCPX51 - Volume:
None - Network: Create a new one if you like
- Firewalls: Create a new one that allows all access from your IP and only 80/443 from All IPs
- SSH Key: Create a new SSH key to use or use an existing one
- Name:
RKE2-Dev
- Location:
- Click
Create & Buy Now
This will provision this new server and provide you and external IP Address that you can use to connect to the node.
Install RKE2 Kubernetes
Once the node is provisioned, get the IP and login to the cluster using the SSH key you configured.
- In a terminal, run
ssh -i /path/to/key/id_rsa root@YOURSERVERIP
- Update the OS
apt update && apt upgrade -y
- Install RKE2:
curl -sfL https://get.rke2.io | INSTALL_RKE2_CHANNEL=v1.21.6+rke2r1 sh -
systemctl enable --now rke2-server.service
export PATH="/var/lib/rancher/rke2/bin:$PATH"
- Export the kubeconfig file. We can use this file to connect from our local machine using the
kubectlcommand line or Lens
mkdir ~/.kube
cp /etc/rancher/rke2/rke2.yaml ~/.kube/config
- Run
kubectl get nodesto verify that the RKE2 node is up and running
root@rke2-test:~# kubectl get nodes
NAME        STATUS   ROLES                       AGE   VERSION
rke2-dev   Ready    control-plane,etcd,master   12d   v1.21.6+rke2r1
You now have a single node RKE2 cluster up and running.
Configure DNS (Optional)
If you would like the cluster to have a DNS name and be able to pull valid Let’s Encrypt keys, you will need to point some DNS names to your cluster. Add the following to you public DNS records for your desired domain. (We use Cloudflare at AB. Reach out if you have questions.)
- rancher.YOURDOMAIN.tld -> IP of your Hetzner Server (This will let you reach the Rancher interface we configure in the next steps)
- *.apps.YOURDOMAIN.tld -> IP of your Hetzner Server (This will let you reach apps running in Kubernetes via NGINX Ingress)
Install Helm
We will use Helm on the Hetzner machine to deploy Rancher (and other applications if you want).
Run the following commands to install Helm:
curl -fsSL -o get_helm.sh https://raw.githubusercontent.com/helm/helm/main/scripts/get-helm-3
chmod 700 get_helm.sh
./get_helm.sh
Deploy Rancher
We can now deploy Rancher 2.6 on the cluster. We will use Rancher as the Management UI for the cluster.
Official documentation: https://rancher.com/docs/rancher/v2.6/en/installation/install-rancher-on-k8s/
- Add the Rancher Stable Helm Repo
helm repo add rancher-stable https://releases.rancher.com/server-charts/stable
- Create a namespace for Rancher
kubectl create namespace cattle-system
- Install
cert-managerfor management of SSL certificates in cluster
# Install cert-manager CRDs
kubectl apply -f https://github.com/jetstack/cert-manager/releases/download/v1.5.1/cert-manager.crds.yaml

# Add the Jetstack Helm repository
helm repo add jetstack https://charts.jetstack.io

# Update your local Helm chart repository cache
helm repo update

# Install the cert-manager Helm chart
helm install cert-manager jetstack/cert-manager \
  --namespace cert-manager \
  --create-namespace \
  --version v1.5.1
- Install Rancher using Helm.
helm install rancher rancher-stable/rancher \
  --namespace cattle-system \
  --set hostname=rancher.YOURDOMAIN.tld \
  --set bootstrapPassword=SUPERSECRETADMINPASSWORD
- Verify rancher deployed successfully
kubectl -n cattle-system rollout status deploy/rancher
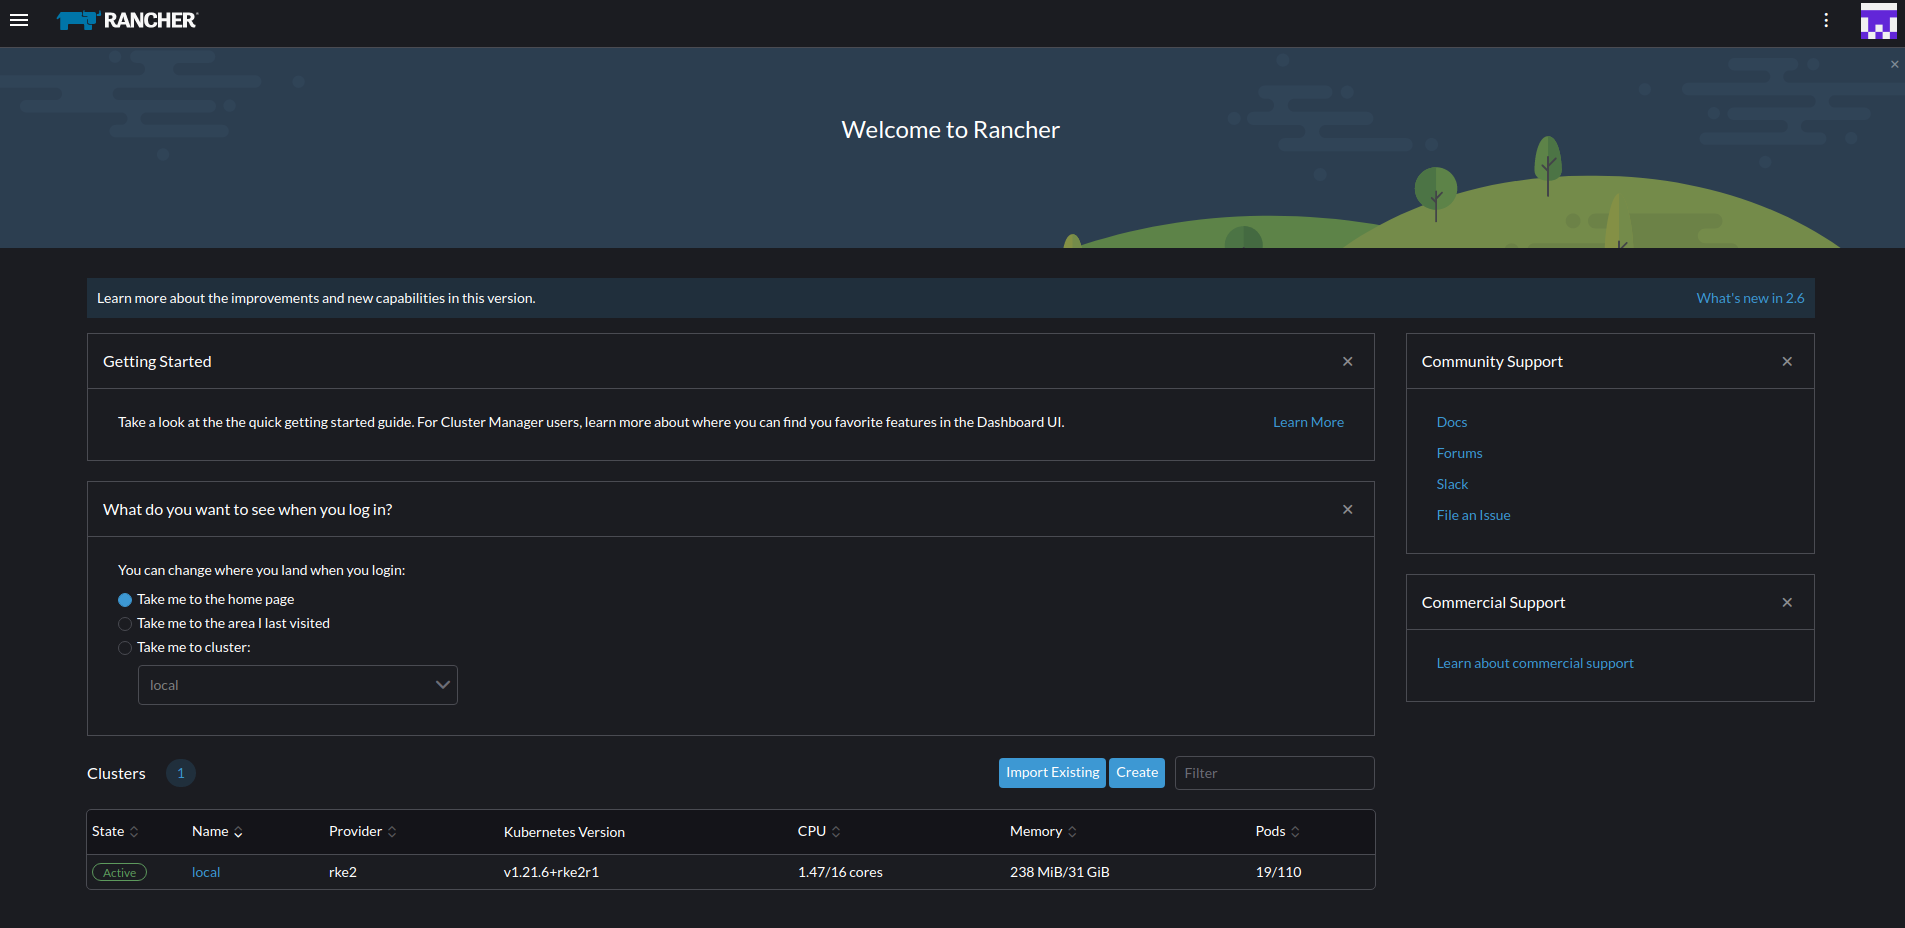
- Once Rancher has been fully deployed, visit
https://rancher.YOURDOMAIN.tldin your browser to login to your Rancher UI and interact with your cluster. Now you should have a fully functioning RKE2 Single Node Cluster with Rancher Management Interface installed.
Closing
Based on the instructions above, you should now have a powerful RKE2 Kubernetes cluster you can use for testing and development work.
In Part 2 of this blog series, we will install Monitoring and Longhorn for persistent volumes in the cluster.
If you have any questions, please reach out to us at devops@alphabravo.io.
Thanks for reading!
The AB Engineering Team
Website: https://alphabravo.io
Contact Us: https://alphabravo.io/contact-us
Note: Some links included here are affiliate links. If you use the link to sign up, AB may get a small referral credit on our account.